 Jesse Moran
This post contains affiliate links. If you purchase through one of these links, I may earn a commission at no additional cost to you. As an Amazon Associate I earn from qualifying purchases.
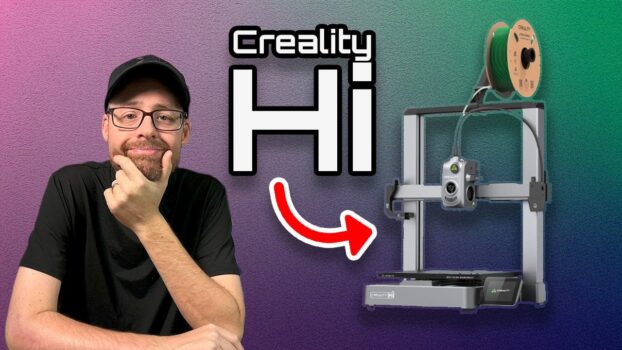
After several weeks of testing the Creality Hi, the feature I kept coming back to was how little friction it added between an idea and a finished print. Assembly was short, the screen and slicer were approachable, and I could monitor jobs through the included camera instead of repeatedly checking the machine.
I tested the standard single-color version. Creality also offers a combo that adds multicolor printing, but I did not test that system here, so my observations apply to the printer itself rather than the multicolor accessory.
Assembly took about 17 minutes
The printer arrived largely preassembled. I attached the upright frame to the base with screws, secured the rear fasteners, installed the spool holder, and attached the display. My total assembly time was approximately 17 minutes, with the screen taking only a few seconds of that process.
That straightforward setup is one reason I think the Creality Hi is approachable for a first-time owner. There is still a learning curve to 3D printing itself, but the hardware did not create an unnecessary barrier.
Build volume and real-world use
The stated build volume is 260 × 260 × 300 mm. That gave me useful space for larger prototypes while keeping the printer compact enough for a normal work area. Over my testing period, I completed multiple projects without the print failures or setup problems I would expect to dominate a beginner-focused review.
The printer’s speed impressed me compared with a larger printer I also use, but I did not run a controlled stopwatch benchmark against identical settings and materials. I would treat that as a firsthand impression rather than a universal speed result.
Screen, camera, and Creality Print workflow
The color screen is clear and shows useful progress information while a print is running. I could also start work through the app, use USB media, or send sliced files from a computer.
Creality’s free slicer let me import an STL, prepare it, and send it directly to the printer. Files can also be stored on the printer for repeat jobs. I found the slicer beginner-friendly after learning the basic controls.
The built-in camera provides remote monitoring and can produce a timelapse. Monitoring is helpful for long prints, while timelapses are useful if you create social content. I did not evaluate advanced failure-detection accuracy in this test.
Noise and print experience
In my workspace, the Creality Hi ran relatively quietly for a 3D printer. It was not silent, but it did not have the harsh, distracting character that can make a printer difficult to share a room with. Actual noise will vary with speed, surface, fans, and the model being printed.
What I liked
- Approximately 17-minute physical assembly in my setup.
- A useful 260 × 260 × 300 mm build volume.
- Clear screen and several ways to send a print.
- Built-in camera monitoring and timelapse capability.
- Fast, reliable results during my several weeks of use.
What to consider
- I tested only the single-color printer, not the multicolor combo.
- My speed comparison was observational rather than a controlled benchmark.
- Material compatibility still depends on the filament, settings, and print environment.
My verdict
The Creality Hi is easy to recommend to a beginner who wants room to grow. It was quick to assemble, easy to operate from the screen or slicer, and reliable during my testing. More experienced users may also appreciate it as a compact production machine or the starting point for a small print farm.
If multicolor printing is the priority, check the Creality Hi Combo configuration. I did not test that accessory in this review.