 Jesse Moran
This post contains affiliate links. If you purchase through one of these links, I may earn a commission at no additional cost to you. As an Amazon Associate I earn from qualifying purchases.
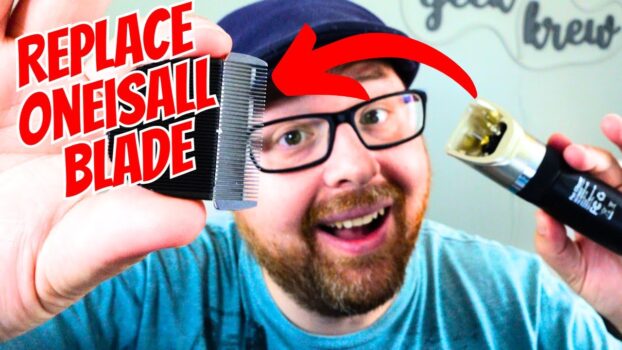
I replaced the blade on my rechargeable Oneisall dog and cat clipper using the steps below. Your housing may look slightly different, but the same removal and installation method applies to Oneisall models that use this snap-in blade design.
Watch the video
Before you start
- Turn the clipper completely off.
- If your clipper has the same adjustable control as mine, set it to 2.0.
- Work over a stable surface so the blade does not fall when it releases.
Remove the blade
- Place both thumbs along the metal blade edge.
- Push the blade assembly outward, away from the clipper body.
- Use steady pressure. The fit is firm and may feel tight before it releases.
- Lift the blade assembly away after it pops free.
Install the replacement blade
- Locate the small lower ledge on the replacement blade.
- Seat that ledge inside the matching opening on the clipper body.
- Pivot the blade toward the clipper.
- Press until it snaps securely into place.
The blade should sit flush and remain firmly attached before the clipper is turned on.
I also linked the Oneisall full clipper set on Amazon for anyone who needs the complete unit rather than only a replacement blade.